What No One Tells You Before Buying a VPS Server
I recently purchased a VPS server and deployed my ParkGuard system. Everything was running smoothly—until users suddenly couldn't log in.
My first instinct was to check the system logs:
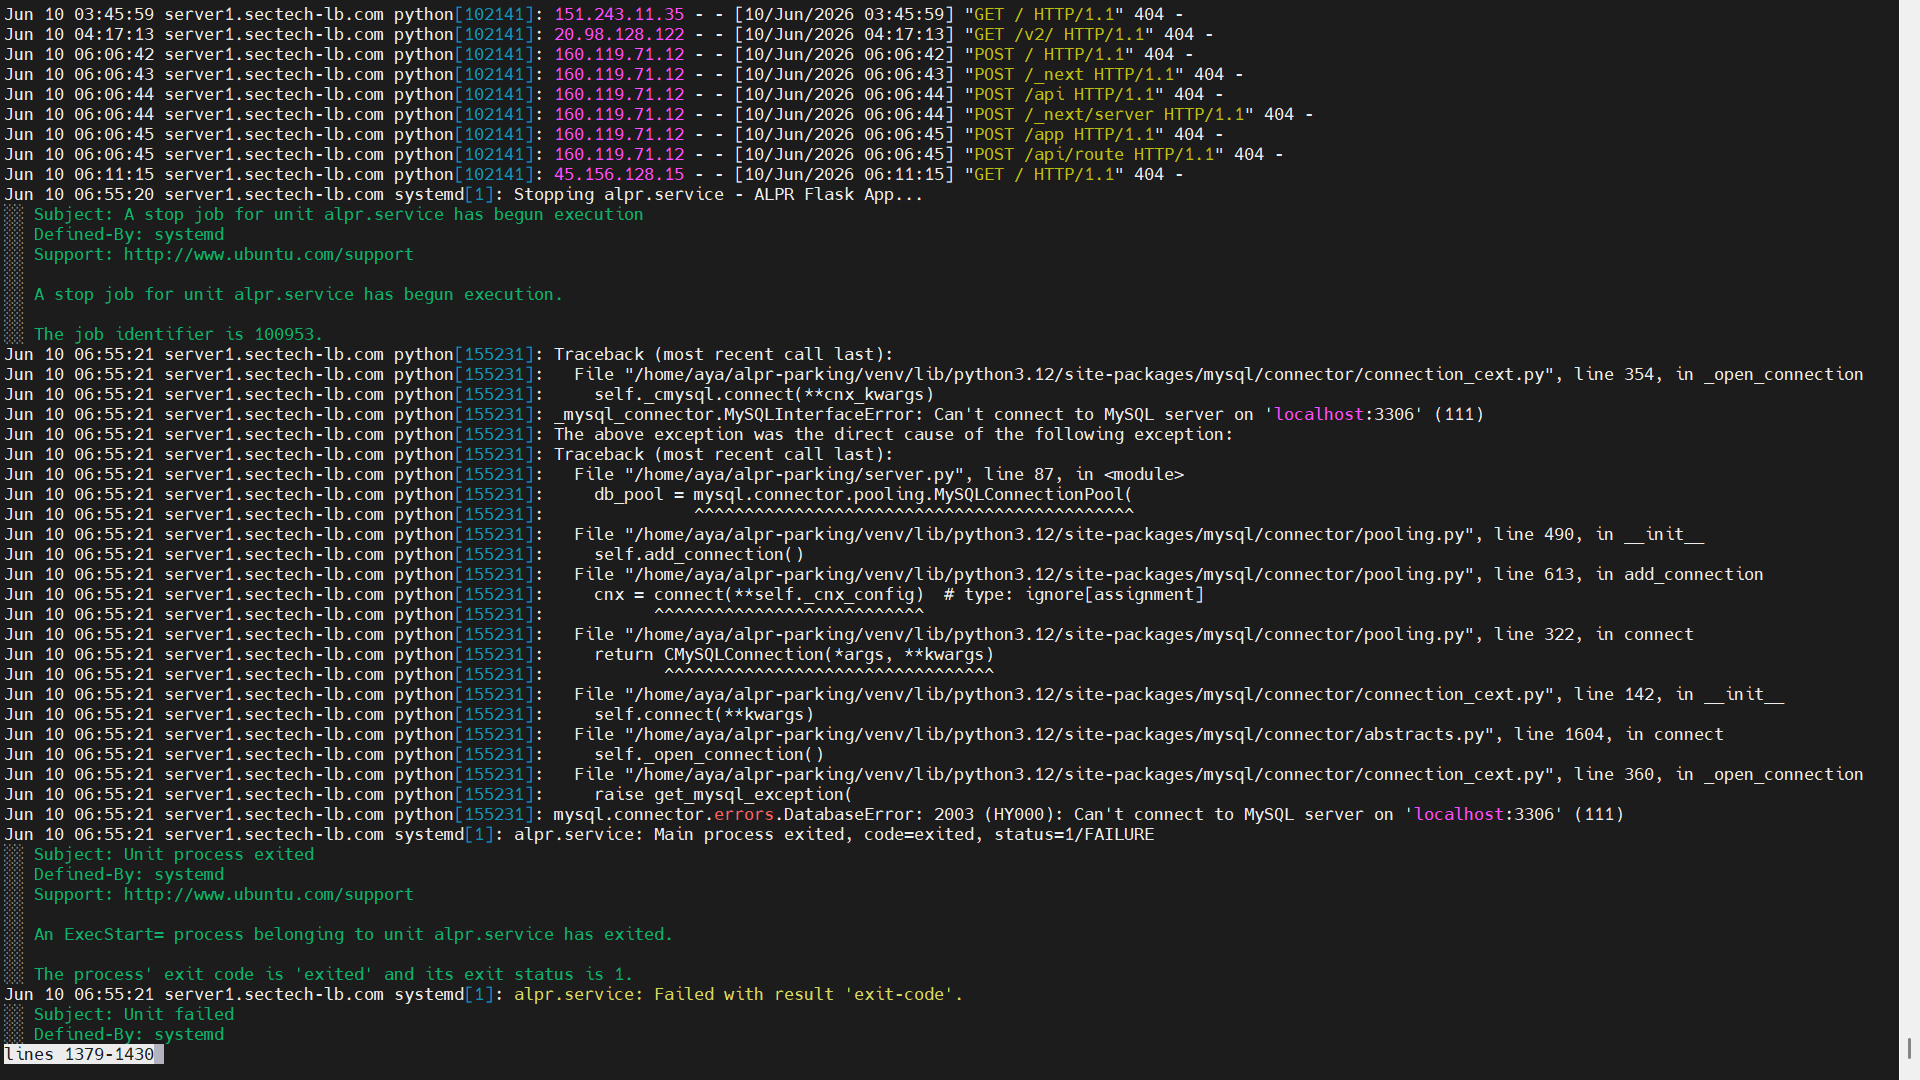
The logs indicated that MySQL was failing to start. To get more details, I checked its status:
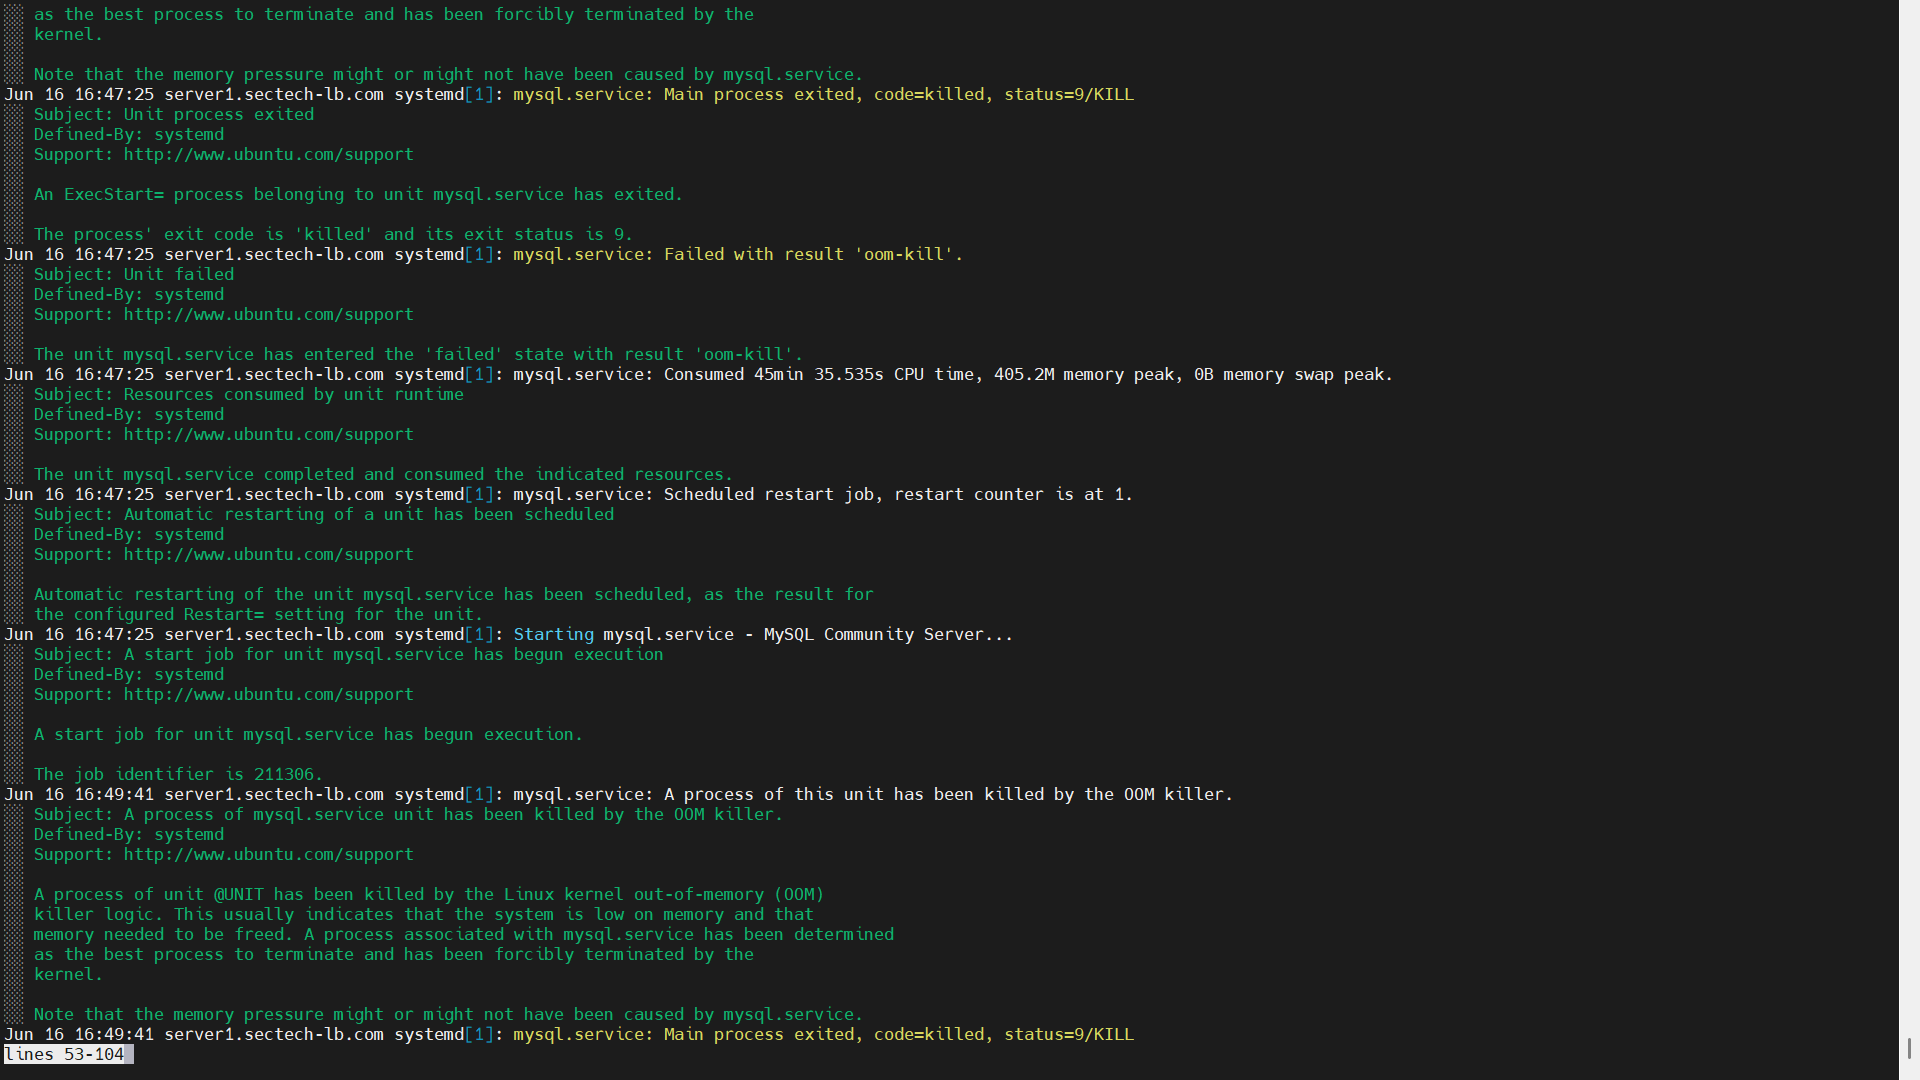
The output revealed that the Linux kernel had terminated the MySQL process due to an Out of Memory (OOM) condition. In other words, the server had run out of RAM, and the kernel's OOM killer stepped in to free memory by killing running processes.
What Is Swap?
Swap is disk space that the Linux kernel uses as an overflow area when physical RAM becomes full. Since disk storage is significantly slower than memory, the kernel keeps frequently accessed data in RAM and moves less frequently used memory pages to swap when necessary.
While swap is not a replacement for RAM, it provides a safety net that can prevent your system from crashing during temporary memory spikes.
Fortunately, enabling swap is quick and straightforward.
Step 1: Check Whether Swap Already Exists
First, verify whether your system already has an active swap area. Run:
If the command produces no output, there is currently no active swap. You can also confirm using:
If the Swap row shows 0B for total, used, and free, your system has no active swap configured.
Step 2: Create a Swap File
Create a swap file of your desired size. For example, to create a 1 GB swap file:
You can replace 1G with any size that fits your server's requirements and choose a different filename if desired.
Step 3: Enable the Swap File
Since swap may temporarily contain sensitive information from memory, restrict its permissions so only the root user can access it:
Format the file as swap:
Enable it:
Verify that it's active:
or
Step 4: Make the Swap Persistent
Without adding the swap file to /etc/fstab, it will not be enabled automatically after a reboot.
Back up your fstab file:
Then edit it:
Add the following line to the end of the file:
Save the file (Ctrl + O, then Enter) and exit (Ctrl + X).
Final Thoughts
A missing swap file is an easy detail to overlook when setting up a new VPS, but it can have a significant impact on system stability.
Keep in mind that swap is not a substitute for sufficient RAM. If your applications are constantly using swap, it's a sign that your server likely needs more memory. However, configuring swap provides an important safety net that can prevent services like MySQL from being terminated during temporary memory spikes.
If you're deploying applications on a fresh Linux VPS, checking whether swap is configured should be one of the first items on your setup checklist. It might save you hours of troubleshooting later.